For the love of Pete... lots of mistakes
I started on the battery boxes in between work on the center foot. During which I ran into some major issues which we will cover in the blog.

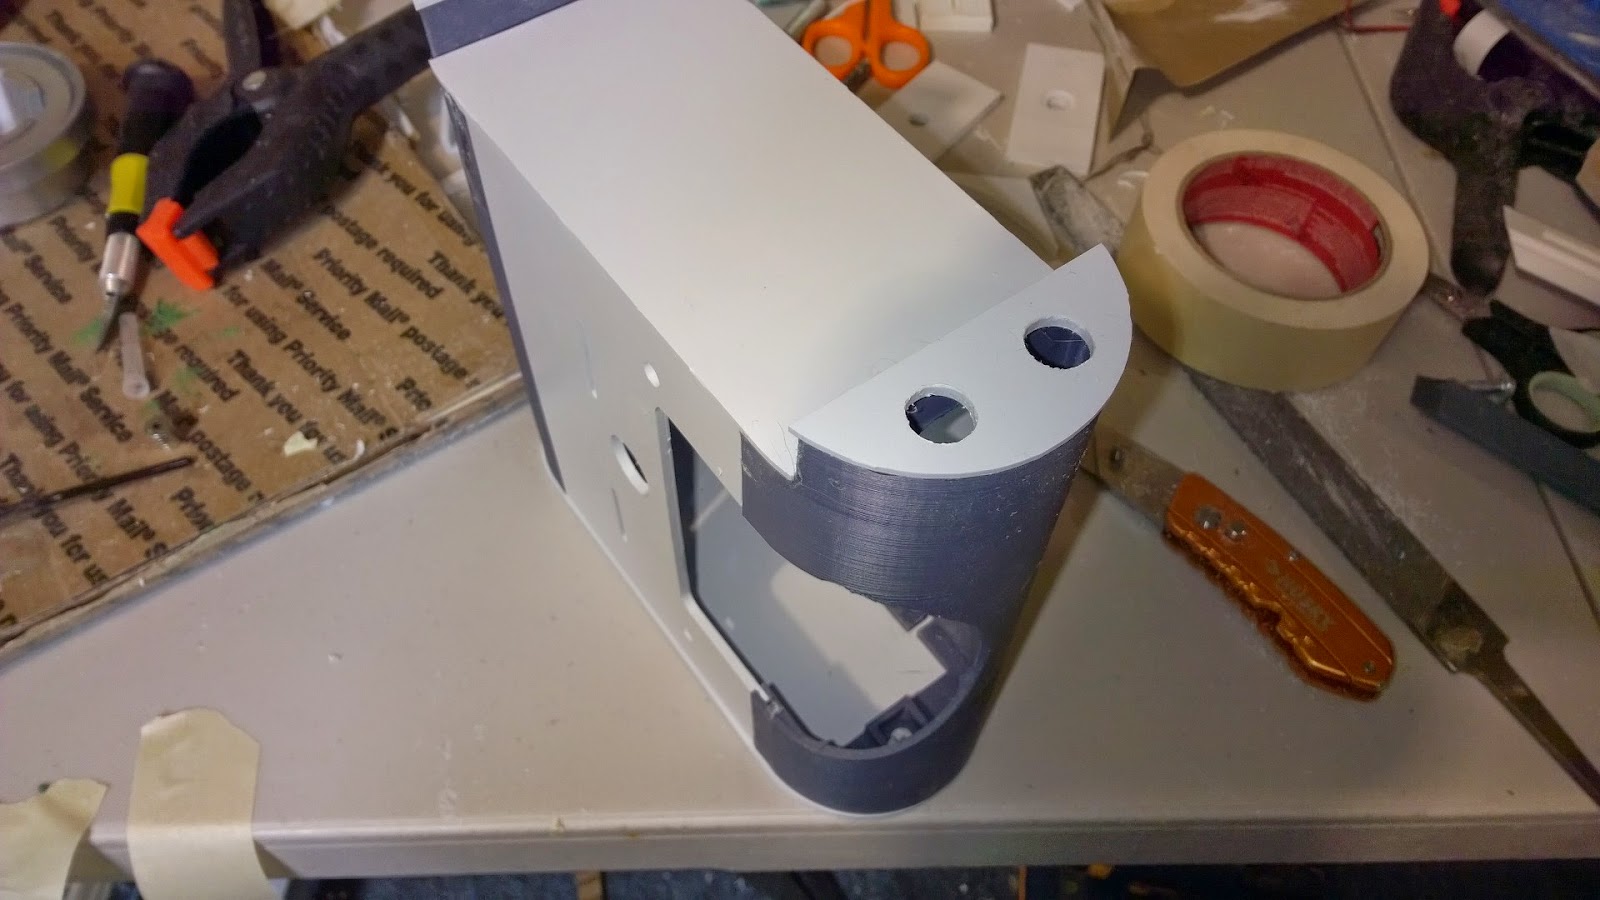
The pieces included some 3D printed ends and parts from Frank (this was similar to the skirt pieces for the center and outer foot shells... his plastic is very strong.. although we shall see soon not strong enough as we thought.

Dry fitting it all together took some time... the pieces sort of fit together but needed lots of sanding in the seem areas where the pieces go inside themselves.

Used 150 grit paper and sanded... sanded... sanded till I could move the pieces freely in and out of the slots. Very sour arms, hands.. tired.

Dry fitting looks ok.. I see where I will need to definitely file and sand a lot.

More sanding, more sanding... This edge and the below shot is the outer cavity where there is a door that I will assembly that allows me to expose the internal parts so we can screw this piece to the inside of the foot (outer foot) shell.


Another view of the slot and how the pieces slide into the slots.

And another shot.... lots of sanding...

Here I am trying to test slide the door piece I made in and out of the shell... it is very difficult so I will continue sanding.

Doesn't quite slide nicely...

I test connected the battery box to the foot shell and screwed it in place... I can use the battery boxes to hold the mini arduino and sensor wires that will run into the foot for distance tracking and such.

Another view of the battery box attached to the foot shell.

Note, the sliding panel will be connected with 3/8" flat screws into bolts that are inside super-glued into holders.

There is a glued in place nut that the screw connects to inside the plastic 3D printed part.


I couldn't unscrew one of the bolts... something is wrong.

Oh crap... the superglue leaked into the nut and froze the screw and nut together. This is not looking good...
NOTE: After a few hours.... matters turned worse... I ended up having to crack the battery box... then took some vice grips and proceeded to saw off the end of the screw so I can remove it. After 30 minutes the screw was cut and now I had to repair the battery box.

Back on track, after gluing the pieces that are static... I used weld-on 16 again.. slow drying but glue substance.

The filing is coming along.. looks great. I will need to sand, file, sand over and over several times before I move onto the next area.

Notice the end caps will need lots of filing... I ended up using the hobby knife and cutting the excess plastic closer to the lip so I didn't have to file so much. Very careful not to cut too close.
Another view of the end cap where the threaded spacers and cables will come out of... this cap will need to be filed down too.

Much better... this is what it looks like completely filed and sanded down.

Here are the two battery boxes with the end caps completed.

Here are the 2 battery boxes completed.
No comments:
Post a Comment