Drive system is operational
Very productive day (As we near Martin and my birthday). The bad drive I had found was replaced and I tested the operation of the drives with Luis' test code for doing drive and spin commands on the wheels. Sweet Success! Thank God he coded ramping into the drives as you will notice in the video it wrecks havoc on those chains.FRAME and SKIRT time
Dejevue... Here we are again with a completed Frame and skirt.This time its different build and structure using Frank Pirz' eggcrate designs.
We found some design issues with the alignment of the 0 and 1 rings. They aligned OK but the center bolt holes where he attaches the 3rd leg (center foot) are incorrectly aligned. Frank will fix on his next design.
Also I drew the correct sketch of where I am going to cut out the bottom of the body so I can in the future convert the droid to a 2-3-2 which is the holy grail of R2 builders. This 2-3-2 is basically automatically allowing the R2 unit to push out the 3rd foot into 3 legged mode and pull it back in for 2 leg mode. The complexity with that choice arrives when you have to design a small enough drive system inside the body that will push the foot out and in at 3" or more per second. This requires a very fast and strong Car Antennae system.
All in All it took roughly 8 hours to complete from start to finish... much of the work was dealing with the "flash" and "tabs" created by the CNC cut frame pieces. Also some of the ribs and rings didnt align perfectly and custom cutting and scraping had to occur with the hobby knife.\
These are the rings; there are roughly 4 rings where the 3rd ring (Ring 0-3) is broken up into multiple levels... you will see when I start constructing the frame together (it makes up the opening doors on the front of the unit).

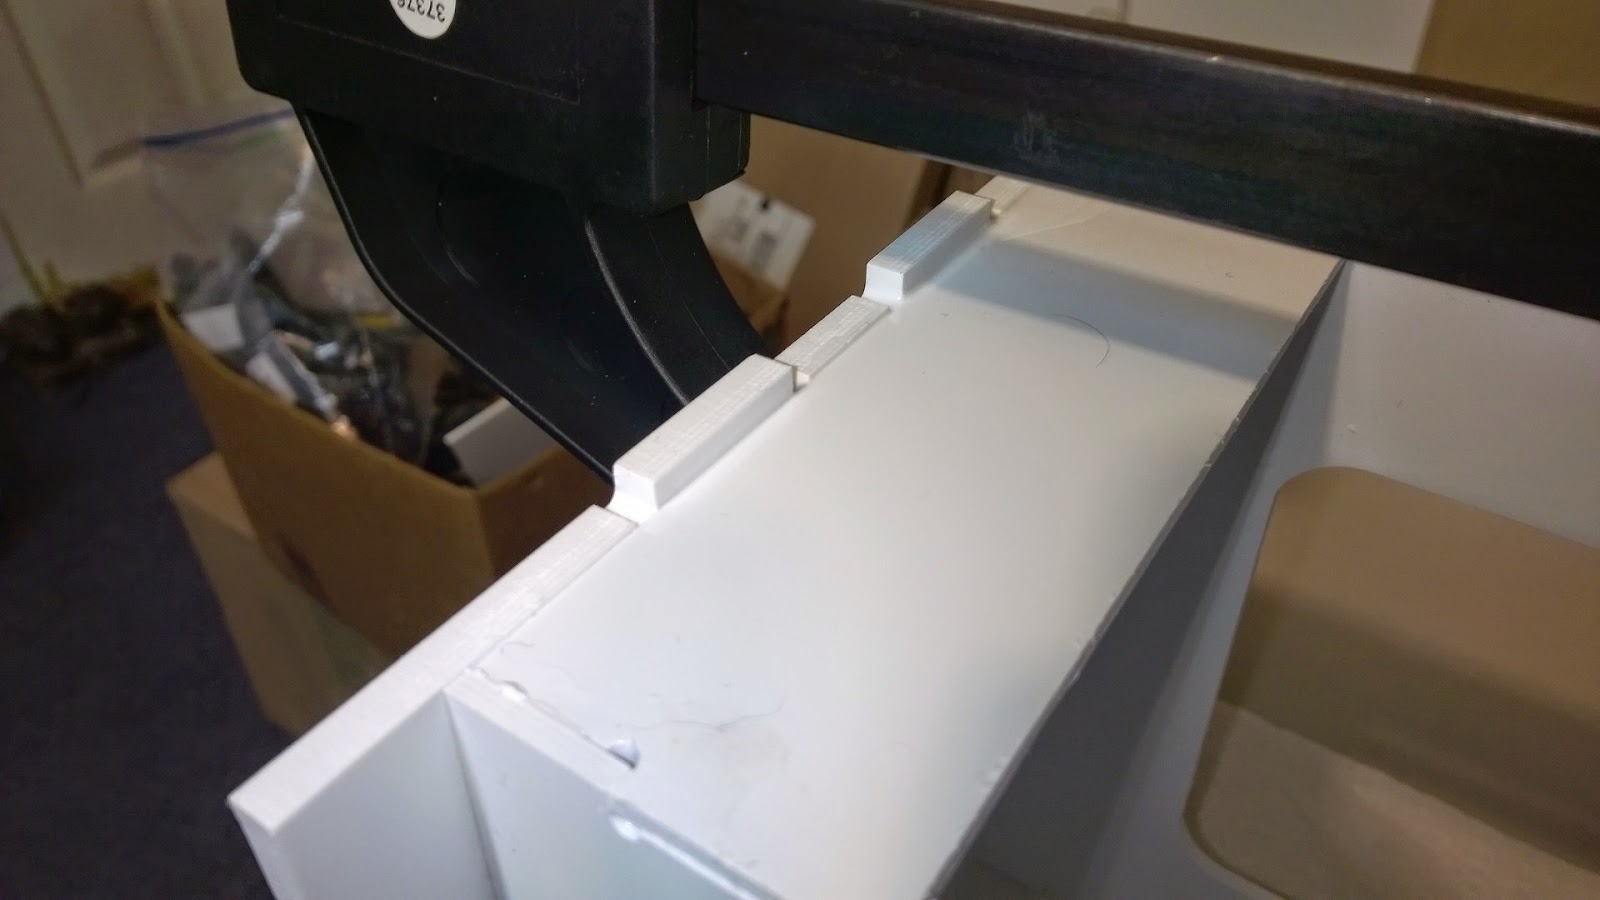
Here are the tabs and flash that has to be properly cut off by using sandpaper or by using a hobby knife to slice off slowly without cutting your fingers off.

This piece was what led me finding the improperly aligned piece on ring 1 that Frank will have to fix. Those holes are aligned correctly but on ring 1 they are vertical.

These are the ribs that connect the rings together to form the can shaped body.

Here is a piece of the upper arm cavity and cross beam box that makes up the strength of the body.

These are the hub units that I had to set aside for now since I am not working on the legs just yet.

I had to start with separating all the pieces out and marking which piece was what. I had to make sure I paid attention to what was FRONT and what was BACK as well as top and bottom for alignment purposes.
I then began work on the upper arm box cavity assembling it to construct a box with cross beams


Once that was completed I began assembling layer by layer each ring starting top area and bottom areas separately. This allowed me to tackle adding what I could without having to use so much tape.


I was able to glue as I went after ensuring the correct location of each rib and ring. I got a little crazy seeing I was running out of time today. I started on the ring 0 and skirt assembly alonside the frame build. I was able to build the skirt quickly since there were less stress locations where placing items was load bearing.


Here is ring 0 - note the vertical location of the holes... they will need to be re-drilled when it comes time to attach the center foot to the ankle.

I then began attaching the two frame pieces together and glued more pieces as I went. At first I was very leary on the strength of the new frame (as apposed to my old frame which was made out of PVC and with more metal pieces. But as the glue (weld-on 4 and 14) dried... it became as strong as a rock.


Finally once the frame was completed... I flipped it upside down to complete the skirt pieces. This was actually not that easy as I noticed Frank made some more measurement mistakes and I had to adjust quite a bit to get the strips to align.


Ah! Finally the outer shell of the skirt is attached and glued. It looks pretty good too.
Now its time to connect all 10 small ribs to each of the outer seams of the skirt. I must be a magnet for tedious work here.


I flip the frame over... it looks great and feels very strong. Next up will need to sand down quite a bit of slop from pouring on the glue.. its like water basically and melts the plastics together as well as probably is not healthy to have it touch my skin :)


Ok its now 1:30am on my birthday... time to say goodnight!
No comments:
Post a Comment