Assembling the legs Part 1 (Day 1)
Started to review the tutorials on assembling Frank's eggcrate frame design. Lots of parts, lots of material to review.
Started to pull the flat packs out and separate from their stock and review the first steps, dry fitting them together.
Started to collect the snipets and extra debris left from trimming the pieces so I can later use them for filler or paste for areas where I want to try to cover up gaps. Frank did note by doing this we would have to put a lot of elbow grease into the filing and sanding of the areas to get back the smoothness.
Began construction on internal framework of the legs, this is very complex given the old legs which were nothing more than layers of PVC glued together to create the forms.
After the first 2 hours it was clear... it was going to be a LONG night. Once I got the first legs innards ready (dry fitting) I began gluing them into place.
It was time for the under shoulder details.
I needed to chaffer the edge which connected to the inside ribs, I show a close-up here.
Fitting it into place then gluing it once I felt it was fitting correctly.
A few more glances at the framing and It was time to seal it up
The inside framing is ready for sealing into the other side of the inner part of the leg.
Using Weld-On 4 this glue is fantastic... I wish I had this when I built the version 1.0 of my R2. I ended up using crazy glue gel and other glues which did not hold at all.
Here is a great view of the ribbing around the upper part of the arm. Notice I kept all the ribs flush to the outer layers to allow correct alignment and bonding when it came time to glue the outer skin onto it. However that would be a while from now as I am finding.
Using nice cheap clamps from Harbor Freight I leave the leg unit for a few hours to dry and allow the glue to correctly bond.
I began cutting out and assembling the other leg while I waited patiently. I then came back to the first leg and started assembling the path for the wiring to run through for the foot motors, LED and sensors as well as the Arduino that will be installed in each foot.
There we have it... a somewhat finished skeleton inside of the main leg... I just rinse and repeated on the other leg when I had to wait for one to dry I started partial work on the other to allow best use of time.
Here is the layers that make up the channel that will hold the cables (2 power cables and a category 5 cable). Yes using category cable 5 (network cable) works fine with 9v or less power running through it.
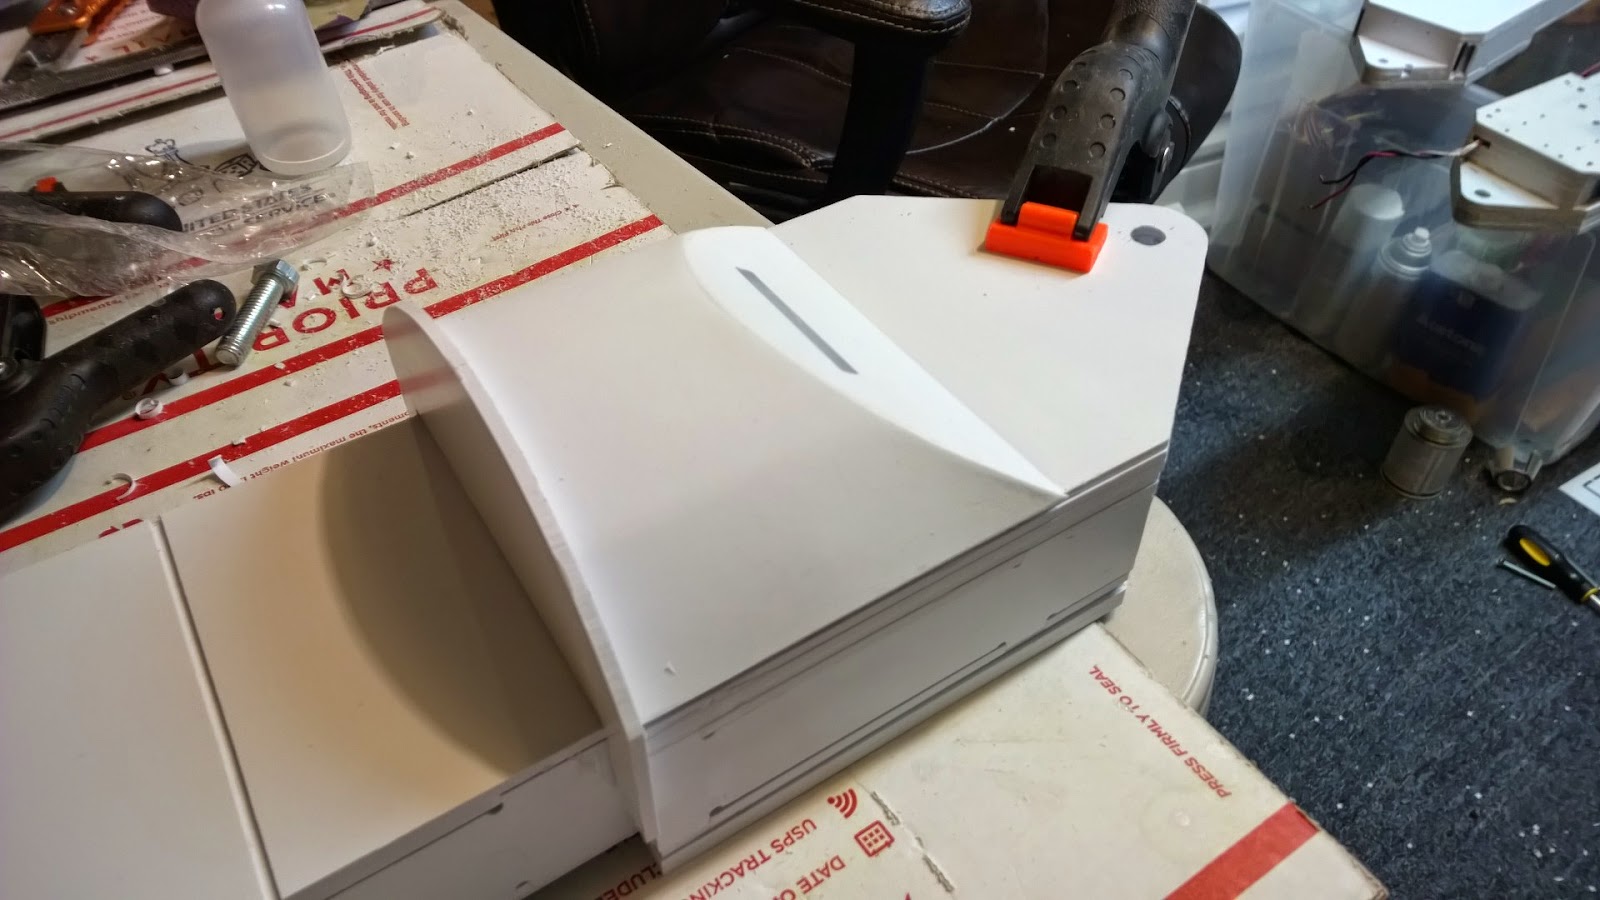
While that was drying I began work on the otter foot details including the half moon. This part always makes me anxious because with the old R2.. this part never worked and I ended up using resin pieces from someone. This time I am going to take another shot at it using Frank's suggestion to use putty made up of melted plastic from the weld-on 4 mixture.
It uses ribbing similar to building aircraft.. notice the ribs crossing through the outer round shell ribs.
Connected the front plate to the rib construction... and attached more pieces to the side for eventual surface to glue against when I place the skin on it...
I will need to sand down (using a file or sander) and chaffer the edges of the ribs that go above the outer round ribs.
Ok now its time to put the skin on it and then putty in the cracks and left over gaps that will occur... this is my NOT SO favorite part of this stupid thing...
I began pouring the weld-on 4 into a bowl with the collected fragments. This started to melt as I Taped up and glued the outer skin onto the leg detail.
While the skin was taped and drying on the ribs I was able to then push the putty I made from the melted plastic into the gaps along the edges and openings where the skin didn't quite fit correctly.
I was not keeping my hopes up.
I let it sit overnight... woke up and rushed down into the basement to work on it.
I used a steel file and scraped away at the edges and then used #330 and 230 sand paper on the putty to sand it down to a nice edge... I was amazed! Frank was right, it came out perfect.
Take a look at this thing.. it looks like one complete piece, strength? It is strong as a single filled piece of plastic molding would be. Wow...
Here is a close-up.... notice the edging looks like one continuous piece of plastic.
Melting the styrene with weld-on 4 was key and I wish I knew this 2 years ago.
That went so well I started on the second leg details... I was on a roll here!
You can see how I tape down the edges when I glue to hold it in place correctly.
I took the detailed part that was complete and attached it to the main leg and glued it...
I put the back plate behind it as well...
Looking at the gaps and uncompleted sides.. I was getting nervous just how much more work was left.
I am going to take a break for now and start Part 2 tomorrow.


No comments:
Post a Comment